Create Initial Display of Registration Screen
This chapter describes the initial display of the registration screen.
- Create a JSP for the registration screen
Place the template JSP under /src/main/webapp/WEB-INF/view/client.
- Implement the part that is initially displayed on the screen.
Add the content of the registration screen to create.jsp.
- /src/main/webapp/WEB-INF/view/client/create.jsp
<n:form> <div class="row m-3"> <label class="col-md-2 col-form-label fs-5"> Client name</label> <!-- Client name text box --> <!-- Since the form has not been created, specify a temporary value for the name attribute --> <div class="col-md-10 form-group"> <n:text name="tmp" cssClass="form-control form-control-lg"/> </div> </div> <div class="row m-3"> <label class="col-md-2 col-form-label fs-5"Industry type</label> <!-- Pull down of industry type --> <!-- Since the form has not been created, specify a temporary value for the name attribute --> <div class="col-md-10 form-group"> <n:select listName="industries" elementValueProperty="industryCode" elementLabelProperty="industryName" name="tmp" withNoneOption="true" cssClass="form-select form-select-lg"/> </div> </div> <div class="button-nav"> <!-- Registration button --> <!-- Since the registration confirmation screen is not yet created, specify a temporary value for the uri attribute --> <n:button uri="tmp" cssClass="btn btn-lg btn-success">Registration</n:button> </div> </n:form>- Key points of this implementation
- Use Jakarta Server Pages Custom Tags to create a text input form and pull-down. See Create an input form.
- The industry type list to be registered in the request scope with the initial display method described below is specified in the listName attribute of select tag and displays it in the pull-down. See Displaying selection items (pull-down/radio button/check box).
- Create an initial display method for a business action
Add a business action method to ClientAction that performs the following process.
- Acquire the data to be displayed in the pull-down and register it in the request scope.
- Forward to the JSP of the initial display screen.
- ClientAction.java
public HttpResponse input(HttpRequest request, ExecutionContext context) {
    EntityList<Industry> industries = UniversalDao.findAll(Industry.class);
    context.setRequestScopedVar("industries", industries);
    return new HttpResponse("/WEB-INF/view/client/create.jsp");
}
The signature of the business action method should be as follows. A 404 error occurs if the business action method does not meet the following signature.
-
public HttpResponse
methodName(HttpRequest request, ExecutionContext context)¶ Parameters: - request – request object passed from the framework
- context – execution context passed from the framework
- return – response object with transition destination
- Key points of this implementation
- To display the pull down of industry type on the registration screen, use Universal DAO to acquire all the industry type information from the database.
- To pass a value to a JSP, register the acquired industry type list in the request scope.
- Map URLs and business actions
The mapping process is performed using the OSS library http_request_router(external site) . Add configuration for mapping the specified URL and initial display process.
- routes.xml
<routes>
  <!-- Set it before other mappings because it will be evaluated from above -->
  <get path="/action/client" to="Client#input"/>
  <!-- Other settings are omitted -->
</routes>
Tip
For instructions on how to specify routes.xml, see Library README document (external site) .
- Create a link to the registration screen
Create a link to the client registration screen in the header menu.
- /src/main/webapp/WEB-INF/view/common/menu.jsp
<ul class="navbar-nav me-auto">
  <!-- Other links are omitted -->
  <li class="nav-item px-2">
    <n:a href="/action/client" cssClass="nav-link"> Client registration</n:a>
  </li>
</ul>
- Key points of this implementation
- Create a link using a tag of Jakarta Server Pages Custom Tags.
- Communication confirmation
Confirm communications with the following procedure.
- Log in to the application and confirm that the “Client Registration”(顧客登録) link has been created in the header menu.

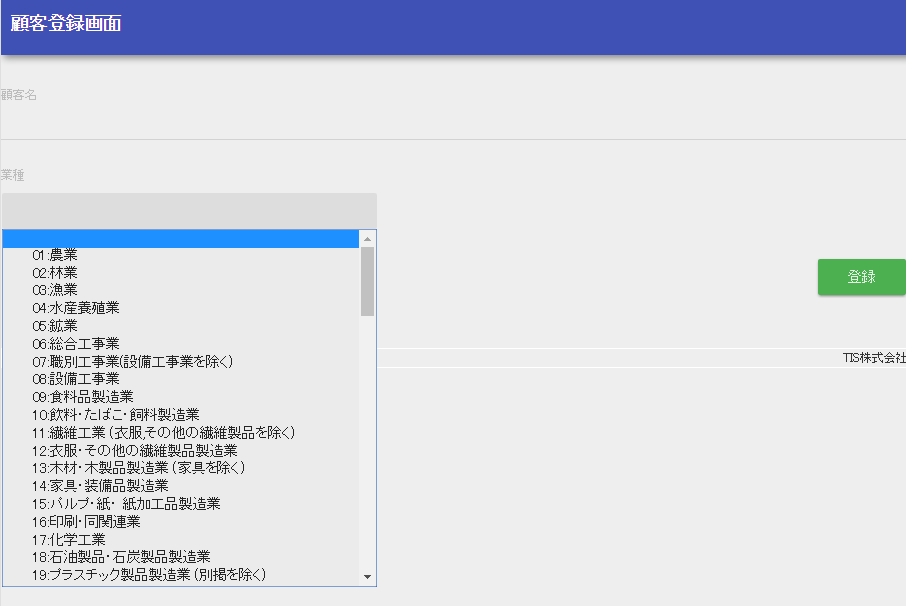
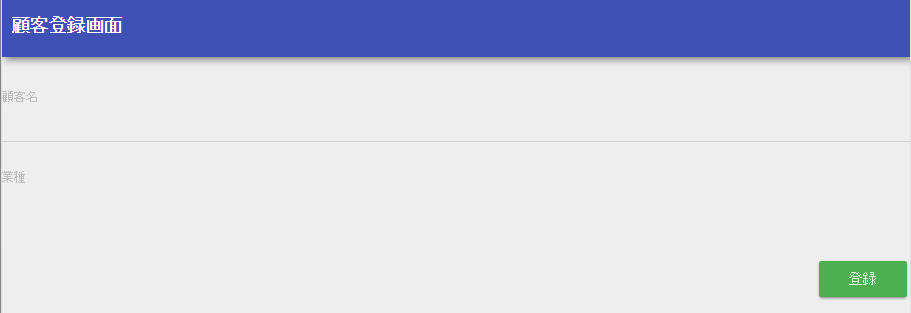
- Confirm that it transitions to the client registration screen on clicking the Client Registration link, and the “Client Name”(顧客名) form, the “Industry type”(業種) pull-down, and the registration button are displayed.
- Confirm if the “Industry type”(業種) pull-down can be selected.